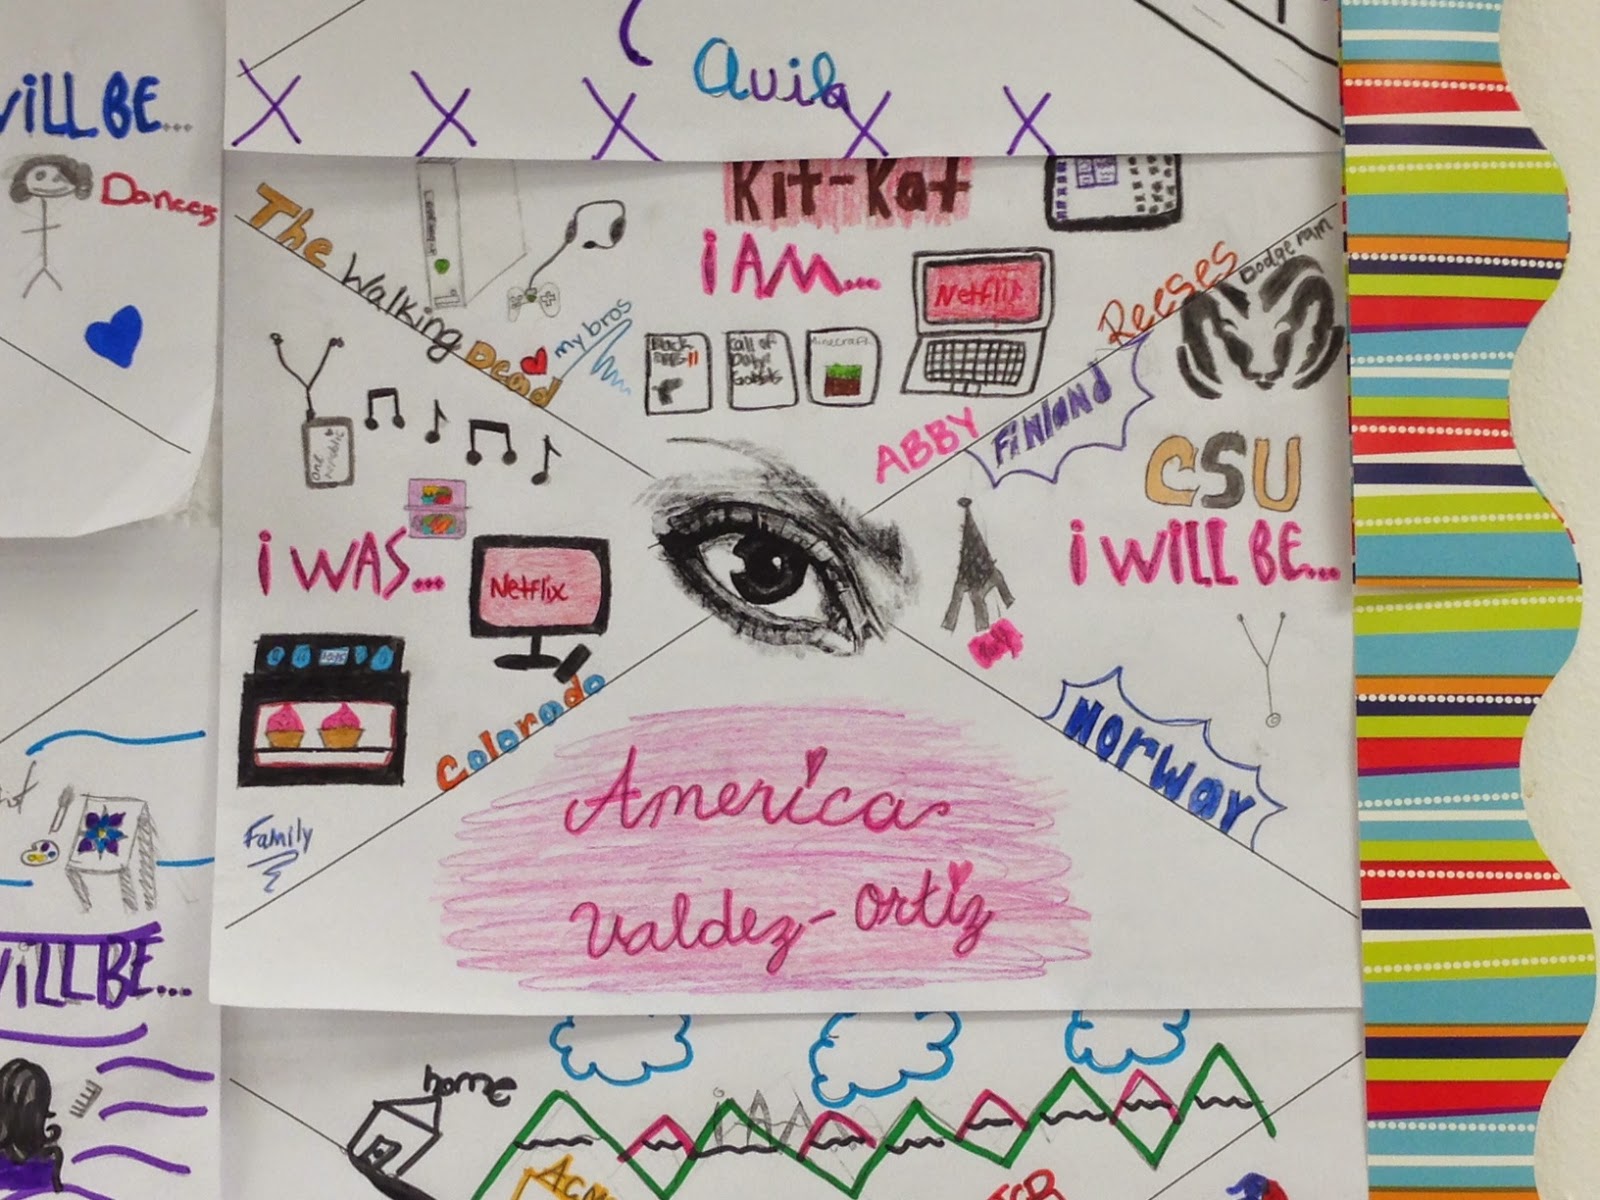
More Student Examples:
Image Transfers:
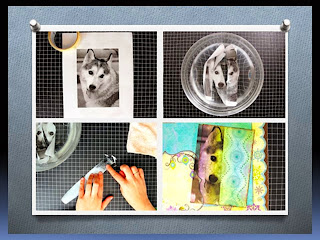
Supplies: Packing tape, magazines, scissors, metal spoons, water trays, and modpodge. All supplies can be shared, however make sure you have enough packing tape.
Steps:
- Apply packing tape to magazine image, being sure to overlap tape, and burnish. (Burnish= press hard using metal spoon so that the ink sticks to the tape, if not burnished the image will not appear.) *Be sure the students tape over the image that they want, in other words, apply the tape to the front of the image.
- Next, soak the taped image in water for 3-5 minutes depending on the thickness of the paper.
- Finally, after soaking use fingers or a sponge to remove the paper backing from the tape. If the paper is too difficult to remove then the image was not soaked long enough and should be placed back in the water. Be sure not to use sharp objects, such as fingernails to remove paper as this will also remove the ink. If done correctly the ink will stick to the tape creating a negative-like image that can be overlapped to create a layered effect (similar to a Photoshop layer).
- Use modpodge to secure the tape to composition.Image transfers can be adhered to almost any surface, so be creative!


No comments:
Post a Comment